Are you planning to start blacksmithing? If the answer is YES, this information will be resourceful to you. Blacksmithing started decades ago by people who had a passion for making tools like swords, knives, arrows, and machetes for warriors.
Therefore, starting blacksmithing is a big step and is made easier by essential tools that you should have in your backyard. There are many basic blacksmithing tools that even professionals can attest is a must to own them.
In this article, I have sampled a good number of basic blacksmith tools for beginners that I thought you should consider them before taking your passion to the next level.
20 Basic Blacksmithing Tools
- Anvil
This is the essential blacksmithing tool constructed from forged steel. Anything made of steel is substantial. This enables the anvil to withstand the force of the blows from the blacksmith.
This is the metal you place under your work for hitting. There are many anvils in the market, but it is good to get a good one. Sometimes, this tool is useful to boat anchors.
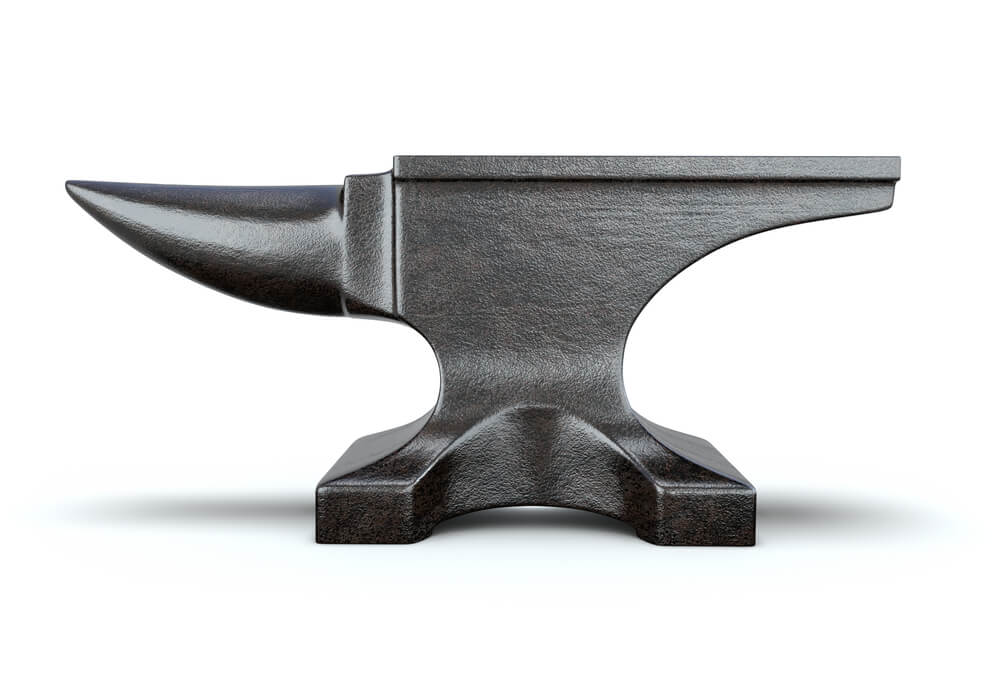
It has two holes, i.e., hardy and pritchel holes. Hardy hole is suitable for holding a V-block because you need a to slug before getting through to your piece of work.
Pritchel is a hole where a piece of metal punches through and uses to stabilize your part of work to keep it off from distortion when you begin to punch.
At the back of anvil are a block and a horn used when you want to carve metals. Therefore without this tool, blacksmithing becomes useless.
- Forge
This is the fire you use to heat your metals. It only needs air and fuel. The most available powers for forge are cock and propane. Cock is a substance acquired from coal. Controlling cock forge for beginners might be a problem, but with propane, controlling forge is relatively more comfortable.
It is advisable that beginners to use propane because of this reason and also because propane enhances cleanliness, and it is convenient.
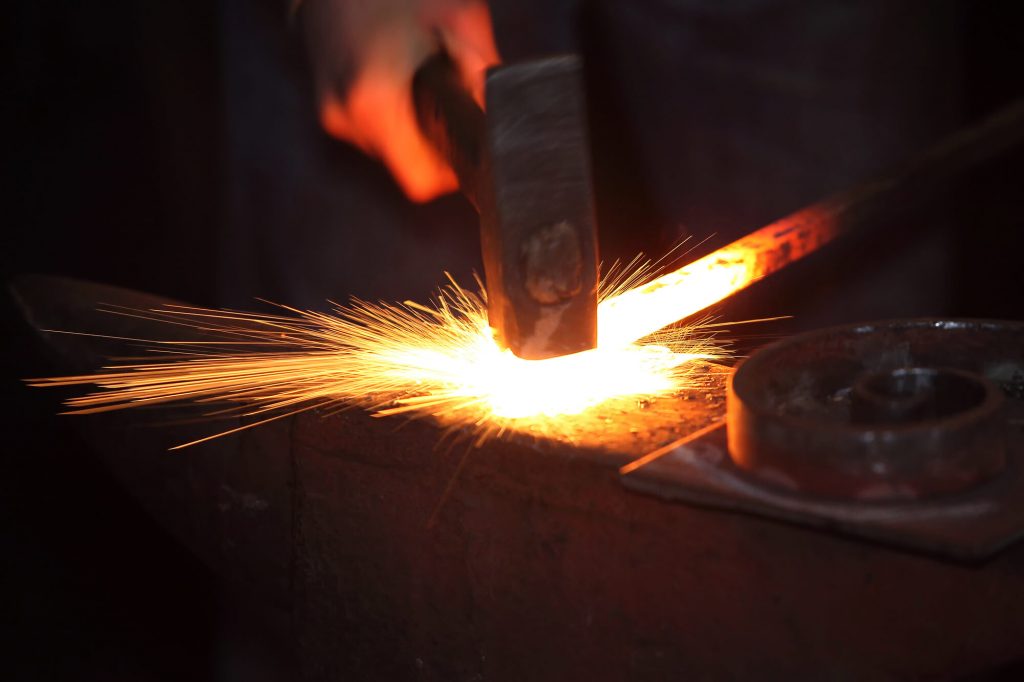
With forge, you need to be careful because you are dealing with fire. After heating, that metal maybe gets hot where you did not want to heat.
Therefore you need more information to know how to cool the metal. There is also a torch used for heating and cutting. Though not essential for beginners, acetylene torch is critical.
- Hammers
If you need something to hit your piece of work. There are many hammers with different weights, shapes, and head styles used to strike and control the movement of your piece metal.
The way you wish to shape your metal determines the kind of hammer you need to use. Also, standing distance and position from the anvil determine the type of hammer you need.

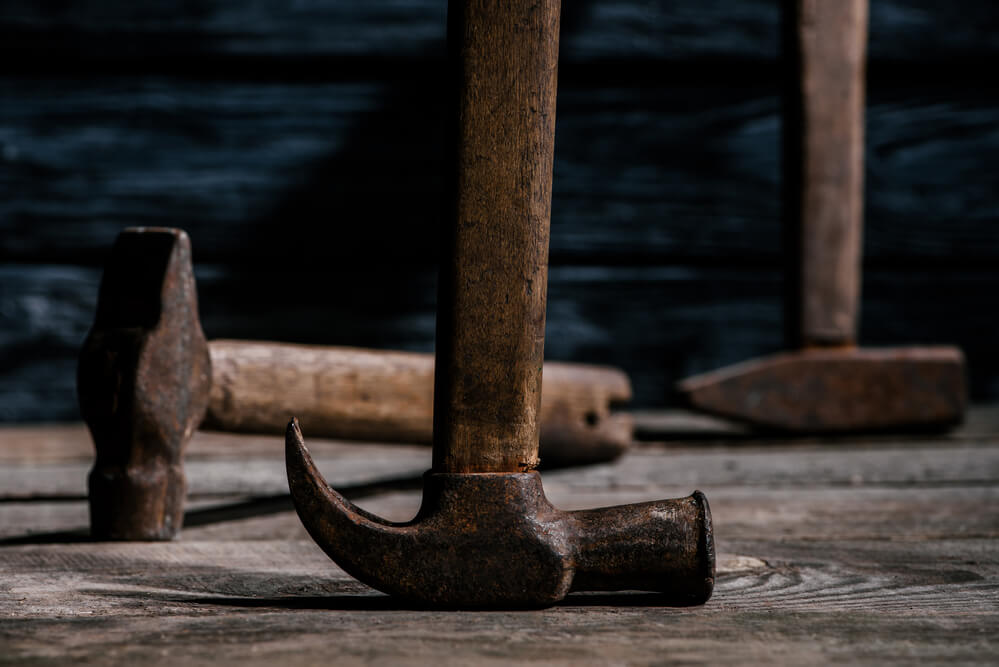
Claw hammers are the most known ones, they are soft, and therefore I cannot recommend for blacksmithing because they can easily break. Try to consider used hammers found in either estate sales or auctions.
Therefore there is no need to worry because as you gain experience in this art, you will know what type of hammer you need.
- Tongs
This is another essential tool that beginner needs. This tool is suitable for holding and pulling out hot metals from the forge. These tongs have a big jowl with a smooth and flat surface to prevent it from scratching the hot metal.
Tongs are made from wrought iron steel. Also, a tong acts as a fireproof to prevent direct heat from the hot piece of metal.

For a good start, you only need one tong, but with time, you will require a variety. It is good to have pliers of the perfect size to make your work easier, maintain an excellent grip on your material, and also to enhance your quality work.
- Vises
Vice is another critical tool in which its utility cannot be measured. Usually, there are two types of mostly used vises, i.e., mechanist and post vise. The post vise is the most recommended for blacksmithing because it is strong, but the mechanist’s vise can break from some hammer blows.
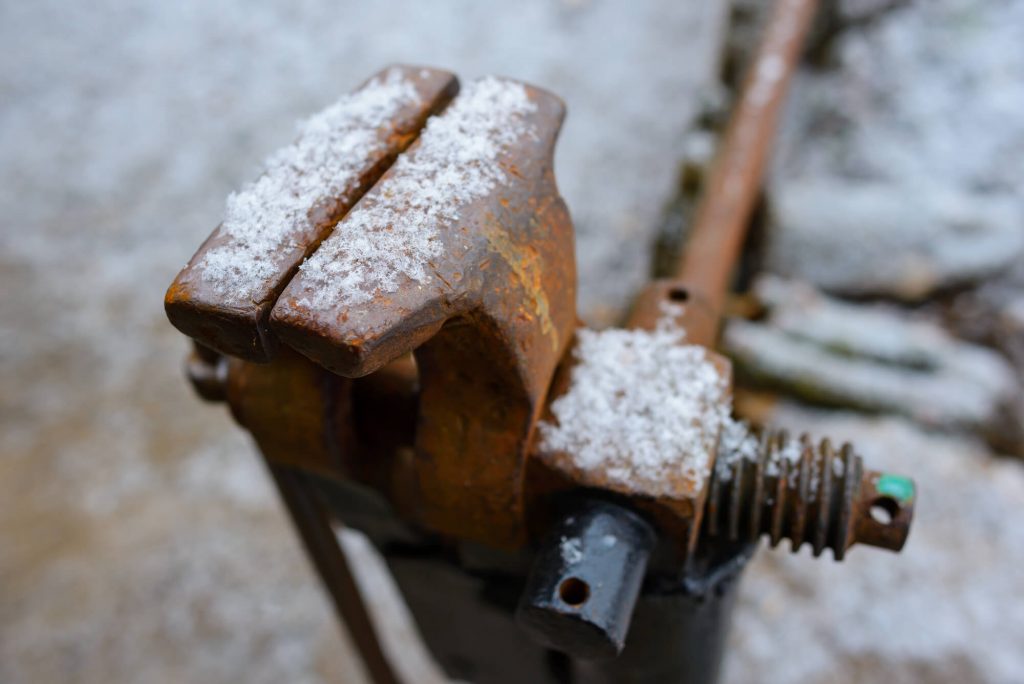
Right places where you can get these vises are in estate sales and auction farms. However, you can start with a mechanist’ vise if you do not have post vise.
The clamp is another essential tool. You will need if welding a piece of metal to make it flat or square. Find a larger one to withstand hammer blows.
- Chisels
It would be best if you cut both cold and hot pieces of metal. If you wish to cut cold materials, the best chisels are short and thick, while for hot materials, they should be thin and long.
Just like hammers, chisels can also be of various shapes and sizes. Also, special ones are good to ease of handwork. Recommended chisels are the ones made from steel material comprising 0.8% carbon.

You may decide to use vehicle coils or leaf springs to make your chisels before getting a real chisel.
- Sets
Just like chisels, sets are useful to cut cold and hot. They are chisels with shafts. The most recommended shafts are wooden shafts because they are easy to handle, but professional smiths prefer metal-rod handles. They are simple to make, affordable, and sitting them is simple.

Also, just like chisels, sets for hot material are longer and thinner, while those for cold materials are short and thick. More so, they may come in different shapes to handle various tasks.
- Reamers
These are tools used to enlarge holes that previously made on the stock. They can also be used to remove burs that may arise from previous cuttings. New reamers come with a high and accurate cutting point placed on the cylindrical axis.
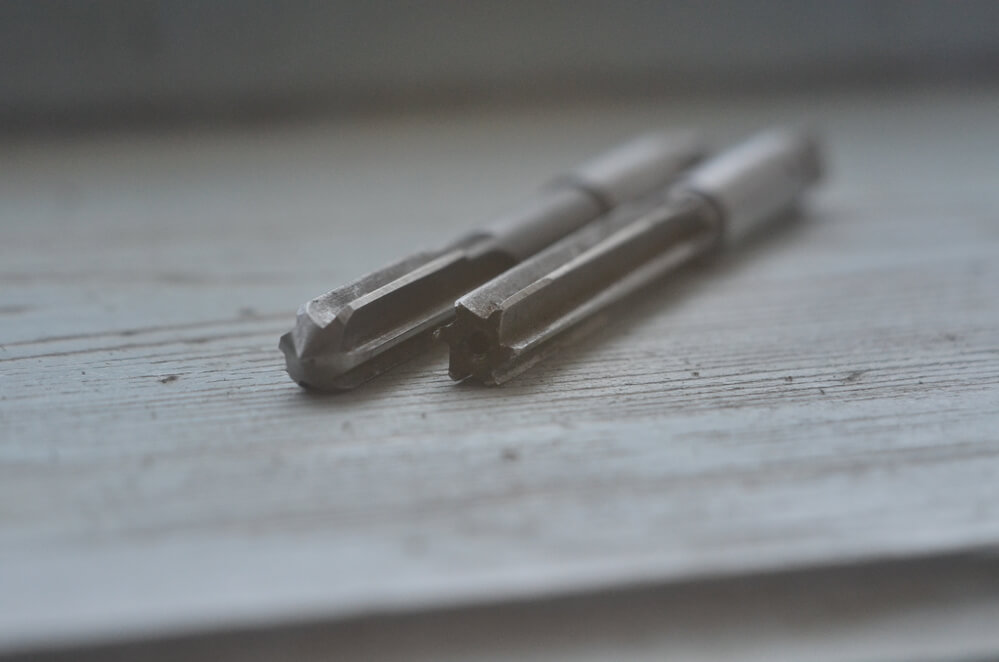
It is easy for the experienced smith to make their reamers. However, In the past, homemade reamers had flat bars that were forged with a taper at its cutting edge to ease cutting. They were much cruder compared to their modern brothers.
These reamers had different sized two heads and a bent shaft at an angle of 90 degrees. Due to this reason, a reamer was hand-cranked by the blacksmith drawing it to the opposite head.
- Punches
They are satisfying and simple tools to use. Before modern technology came with drills, people used punches to make holes in the stock. Nowadays, punches used to make a mark on a piece of metal for heating. The mark can either be cold or hot.
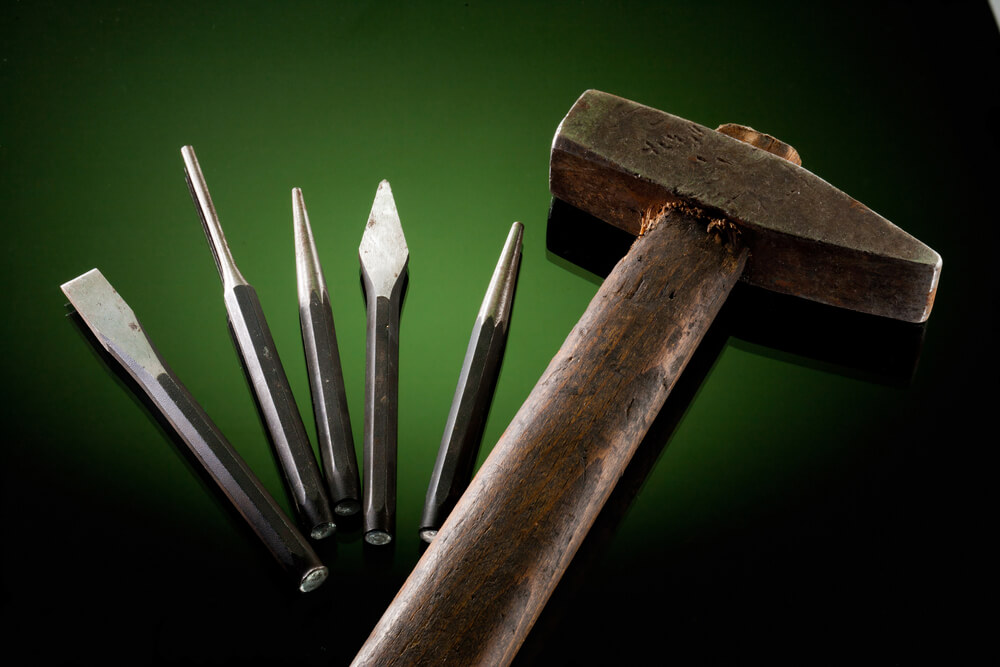
Point to note, a punching hole is always hot, and therefore, you should be careful. It is advisable to use drills to make holes. However, punches can also be useful to make a signature on a piece of metal.
- Drifts
They resemble short punches that constructed from the carbon-steel tool. The size and shape are just like punches. They may be octagonal, round, or any other condition. They are hit through the previously hole made by punches to perfect the size and the shape of that hole.

The hole sizing and shaping should be done immediately when the metal is still hot. However, a greese can be applied to fasten the work and ensures good hole finishing.
These drifts are useful in making circular, triangular, oval, hexagon, pentagon, and many other shapes you would wish.
- Fullers
Fullers come in different sizes and shapes, and they come with round ends. Big fullers need a shaft to hold them while small fullers had using bare hands. Sledgehammer is useful to strike a fuller when held with a stick.

They also come in pairs whereby bottom ones fit into the hole of the anvil. More so, they are useful to set shoulders for drawing a piece of metal in the desired direction and forging tenons.
There are also other fullers like; cheese fuller, which has the same role of fullers, top fuller, which is for stretching, thinning, grooving, perfecting around corners, and spreading.
- Set hammers and flatters
Flatters have a flat surface with either round or sharp ends, depending on your needs. The sledgehammer is useful to strike them when placed on a piece of metal. Just like fullers, set hammers are usually helpful in developing shoulders.
However, flatters are suitable for finishing, and they should be used to perfect flat surfaces of metal.
Therefore, if you wish to have a flat finishing on your piece of work, use flatters. Also, you may decide on the size and shape, depending on the amount of work you are handling. When you want to use a flatter, place a piece of metal on its flat surface, then hammer it.
- Hardy tools
Robust tools are reliable and used to carry out different tasks. For beginners, the most recommended vital tool is the cutoff tool because it is common. It has a sharp edge facing up resembling a wedge. That sharp edge is useful for cutting. You need to place a piece of hot metal on its edge and hammer it down and cutting the metal.

The bending tool is another example of hadry tools. It is useful to bend metals to desired shapes. There are many other types like rivet bucking, cone hardies, dog bone, and rose petal swages, mushroom, butcher, etc. However, for beginners, bending and cutoff tools are the ones recommended.
- Marking tools
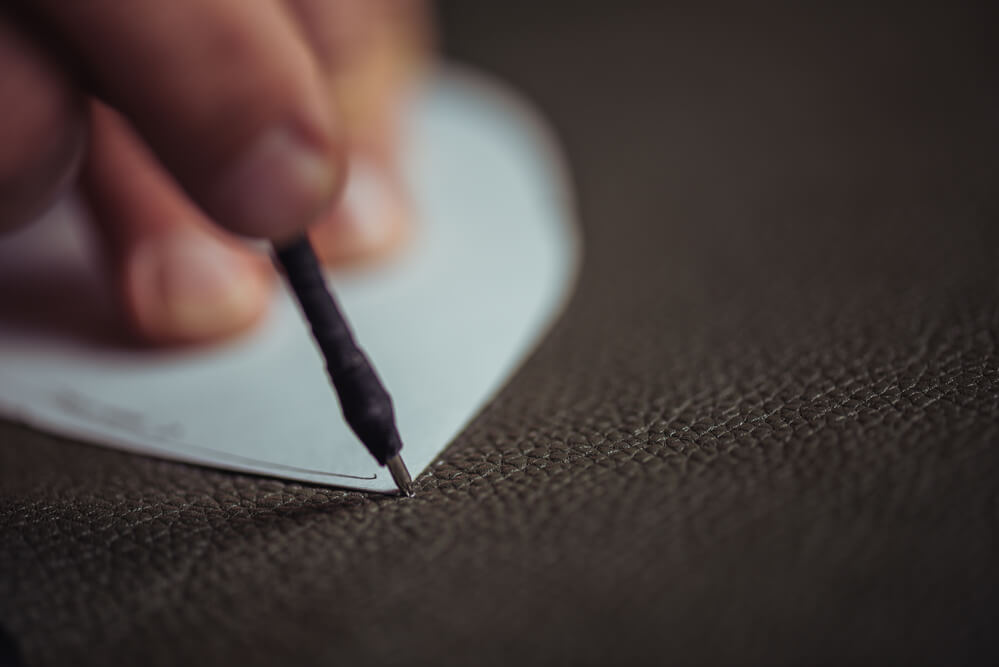
These entail different types of tools utilized for making material in a workshop. You may decide which to use depending on the material you are handling.
Examples of these marking tools include; pens, angle block, sine bars, gages, scratching tools, a piece of chalk, straight edges, center finders, and set alliances. To mention just but a few, these marking tools should enable you to place a mark on the mechanism for guidance.
- Gloves
They are mainly used to prevent your hands from either heat or injuries. There are many types of gloves, but you need to be careful when choosing. Some may form moisture that can get hot when heating a metal.
Therefore, don’t allow your gloves to get wet, but let not gloves mislead you because the hot stock will hurt you. So, it is not fireproof but only use to reduce the direct impact of hit or heat from the forge and hot metals.

Tie them well when working to avoid debris from getting inside. When a slag or a piece of coal enter, your glove and you will have a hard time getting them out.
Recommended gloves include; cotton gloves and synthetic gloves while the exempted one is keytar.
Precaution: don’t use water to cool a glove because it can form steam.
- Anvil Devil
This tool is used by blacksmiths to make V-shaped notches on a piece of metal and produced from heated steel. They are also used by ferries. Good anvil devils should be right from the hardy shank, but this metal does not make regularly used ones. Therefore they can be stationed on a flat surface.

This tool is the best because it is handy for beginners. I am impressed with robust tools because of their stability. Therefore, this remains an essential tool for all beginners.
- Monkey tools
This is an essential blacksmithing tool used to shape tenon shoulders. It has a drilled hole, which represents the size of tenon you indent to shoulder. The monkey tools are always useful alongside with vises. A hot piece of material has a clamp to the vice, and the monkey tool is hit on the tenon.

Another function of the monkey tool is to make rivets. Precaution to take; make sure your monkey tool is quite long enough from the foreseeable tenon. Using a more extended monkey tool keeps your hands safe from direct heat from the hot metal
- Tuning forks
As per its name, tuning forks can have different words like bending fork or scrolling fork. They come in different designs, but all come with two upright poles. Consideration is that the bars should be thicker than the metal handle.

These upright poles act like fulcrum point to exert pressure on your stock as you hammer. This tool enables a blacksmith to bend or twist the metal to a desired shape quickly.
- Apron
This is another essential need that a beginner requires it. Not all aprons meant for the blacksmith, therefore be careful when choosing. It covers your body and your clothes from direct heat. When grinding, this is a must attire to put on.

You need an extra protection layer for your skin. When at work, things shatter, trusty things may break, or maybe you as a result of tiredness, and you become careless. Also, there is a lot of work pants that can protect you from hit when you are near at fire.
- Safety glasses
These glasses will keep your eyes safe from metal and other debris. These glasses can also protect your eyes from gasses, direct forge light, and heat. The most recommended glasses are those with Ultra-violent protection made from polycarbonate lenses.

Choose a glass that will protect your eyes from direct light radiation. Remember to choose wisely because we have other drinks that may interfere with your sight.
Important points to note:
Blacksmithing is an art that involves creativity and innovation, both combined. Before you design any metal, you need to heat then hit it with a lot of energy, especially when handling heavy metals, you need to hit hard and accurately so that you get your desired shape.
Hit until you see a mark on the stock. This implies that you are progressing.
When using forges, make sure to check pipes to avoid leakages.
Be careful from burns and hit. You may get unnecessary injuries as a result of careless. Though some injuries are accidental, you can avoid them.
Put on trousers, long sleeves, and a welding apron to protect you from fire sparks.
Frequently asked questions
What are the tools of a blacksmith?
Just like a soldier with his/her gun, a blacksmith needs his tools too. The art of blacksmith depends on the tools available for shaping and molding a piece of work. These tools, if effectively used, the final product will be great.
What is an anvil in blacksmithing?
Anvil has remained a reliable tool over decades by blacksmiths. This is an essential blacksmithing tool. It has a head, flat top surface, and a horn. Metals for molding and shaping are placing on this tool. Read more about anvil use from here.
What is being a blacksmith?
Becoming a blacksmith is an excellent step in life because they become self-reliant. You use your skills to earn money. In short, you become self-employed. You will be capable of making tools, weapons, and statutes. All these earns you a living.
Where can I get tools to start blacksmithing?
If you wish to start blacksmithing, don’t worry because essentials like an anvil, forge, vice, hammers, vises, and tongs will enable you to get started. When you gain experience in this art, you will be making your other tools.
Conclusion
As per this article, I hope you have all that it takes if you have the intention of becoming a blacksmith. Essential Blacksmithing tools grow day by day, but you don’t need all of them. Due to this fact, the above tools are the most crucial ones that you need to have before starting the art.
When you experience, you will be making your tools, and hence, there is no need to worry about having a few tools in the yard. Also, you may decide to specialize in a particular art as a result of limited available and essential tools.
However, if you need more information regarding blacksmith, you can as well visit our website. In our site, you can get more and detailed information on other related services to comprehend your understanding.


